Tinkers Projects
Imagine | Develop | Create
DIY Flexible PCBs


DIY Flexible PCBs
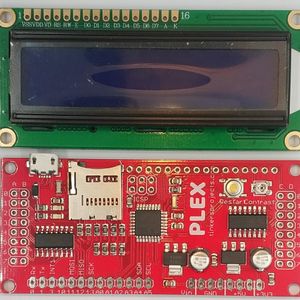
Flexible PCBs are very common but still are a bit expensive to get made. I looked into where to get blank flexible and could not find it for a good price within Australia.
The project that I need a flexible PCB for, I was not sure if it would work and may require some variations on the PCBs. Since the PCBs cost too much I thought I may be able to make my own and started to think about how the PCBs were made. I came to the conclusion that it was simply copper glued to some type of plastic.
Construction
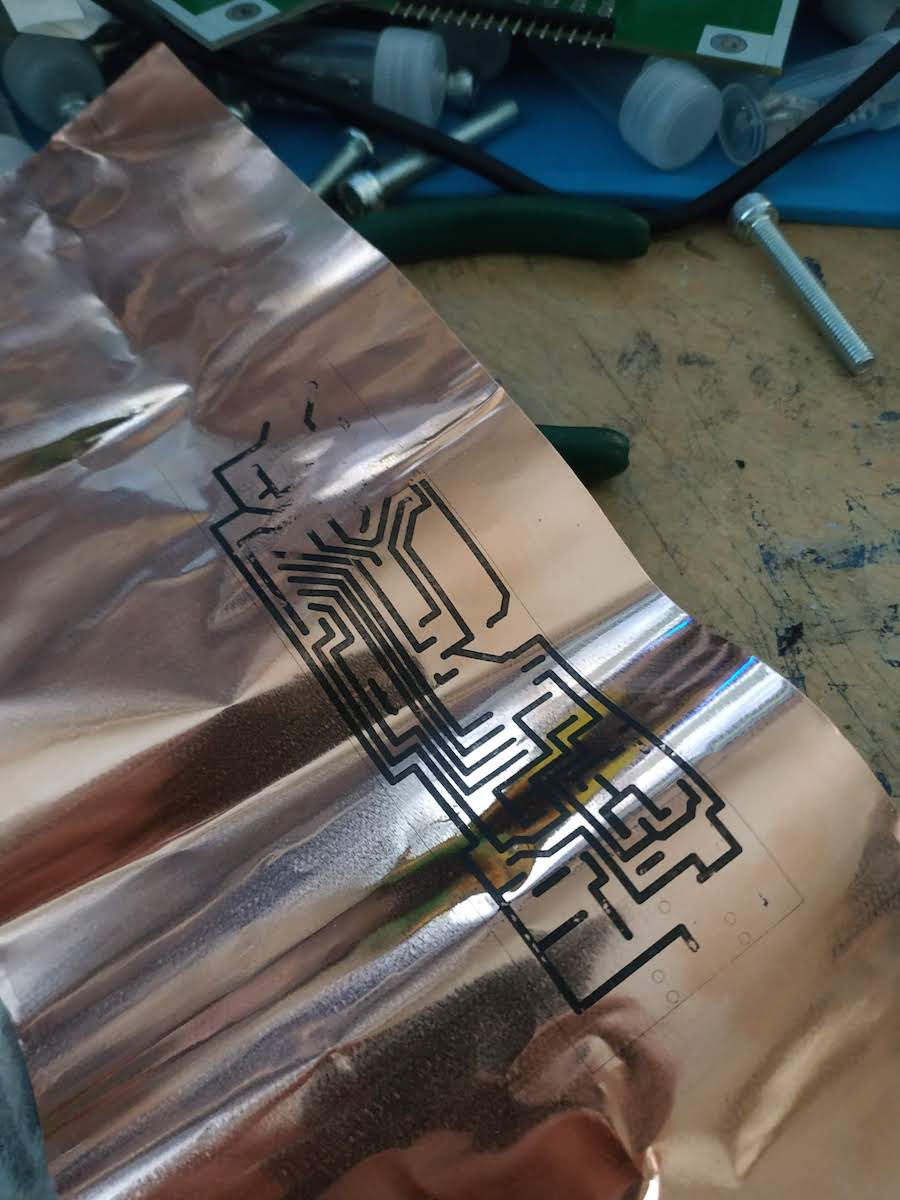
I found 1M x 100MM copper foil on aliexpress and also got some 100MM Kapton tape as the plastic backing. I simply cut about 100MM x 100MM of each and stuck the copper to the Kapton tape.
Etching
As a quick test, I wanted to see what would happen if I tried to print directly on to the copper surface. After the print was done, most of the printed but some of the parts did not. I will need to see if there is a better way to print on these flexible PCBs.
Since the printing method needs work, I decided to use the direct transfer method to get the PCB image onto the copper.
I used Sodium Persulfate etchant to etch away the unwanted copper. it had been a while since I last did this and the PCB did not come out 100% great. I will need more practice at it before doing a production run of the Flexible PCBs.
The biggest problem I had with etching when the PCB was getting close to being finished, the PCB started to float. This made some areas under etching and other over etched. Over time, I can get all the methods correct.
Soldering
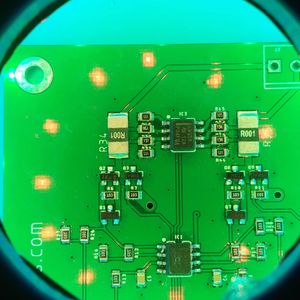
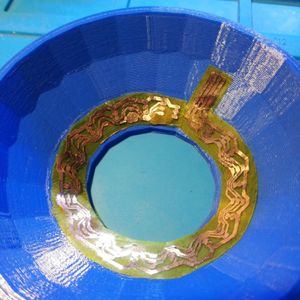
I tried to solder to the PCBs and it was alright. The Kapton tape deformed a little. I was not sure if this was because the Kapton tape was cheap. I tried a different type of Kapton tape that I have had for a while and this tape did not deform. So the tape I got for making these flexible PCBs was fake Kapton which was very annoying. I will be trying different things to get it working
I tried to use hot air to reflow the solder, the fake Kapton just stated melting and shrinking like heat shrink but the better stuff did work. The only problem I had with the better Kapton tape is the tracks would get lifted off the tape very easily. I will try gluing the copper first to get the tracks to stay in place.
Conclusion
The PCB works but I think I can do better. I will be trying some other methods to see what else could work. I'm waiting until I finish my vinyl cutter to try to cut the PCB tracks. I will also try gluing the copper dow with epoxy.
I want to try doing a similar method with FR4 fiberglass PCBs but that will have to wait until I have time.
If more testing is successful, I want to use it for LEDs. I think these will work great with LEDs.
Flexible PCBs are very common but still are a bit expensive to get made. I looked into where to get blank flexible and could not find it for a good price within Australia.
The project that I need a flexible PCB for, I was not sure if it would work and may require some variations on the PCBs. Since the PCBs cost too much I thought I may be able to make my own and started to think about how the PCBs were made. I came to the conclusion that it was simply copper glued to some type of plastic.
Construction
I found 1M x 100MM copper foil on aliexpress and also got some 100MM Kapton tape as the plastic backing. I simply cut about 100MM x 100MM of each and stuck the copper to the Kapton tape.
Etching
As a quick test, I wanted to see what would happen if I tried to print directly on to the copper surface. After the print was done, most of the printed but some of the parts did not. I will need to see if there is a better way to print on these flexible PCBs.
Since the printing method needs work, I decided to use the direct transfer method to get the PCB image onto the copper.
I used Sodium Persulfate etchant to etch away the unwanted copper. it had been a while since I last did this and the PCB did not come out 100% great. I will need more practice at it before doing a production run of the Flexible PCBs.
The biggest problem I had with etching when the PCB was getting close to being finished, the PCB started to float. This made some areas under etching and other over etched. Over time, I can get all the methods correct.
Soldering
I tried to solder to the PCBs and it was alright. The Kapton tape deformed a little. I was not sure if this was because the Kapton tape was cheap. I tried a different type of Kapton tape that I have had for a while and this tape did not deform. So the tape I got for making these flexible PCBs was fake Kapton which was very annoying. I will be trying different things to get it working
I tried to use hot air to reflow the solder, the fake Kapton just stated melting and shrinking like heat shrink but the better stuff did work. The only problem I had with the better Kapton tape is the tracks would get lifted off the tape very easily. I will try gluing the copper first to get the tracks to stay in place.
Conclusion
The PCB works but I think I can do better. I will be trying some other methods to see what else could work. I'm waiting until I finish my vinyl cutter to try to cut the PCB tracks. I will also try gluing the copper dow with epoxy.
I want to try doing a similar method with FR4 fiberglass PCBs but that will have to wait until I have time.
If more testing is successful, I want to use it for LEDs. I think these will work great with LEDs.