Tinkers Projects
Imagine | Develop | Create
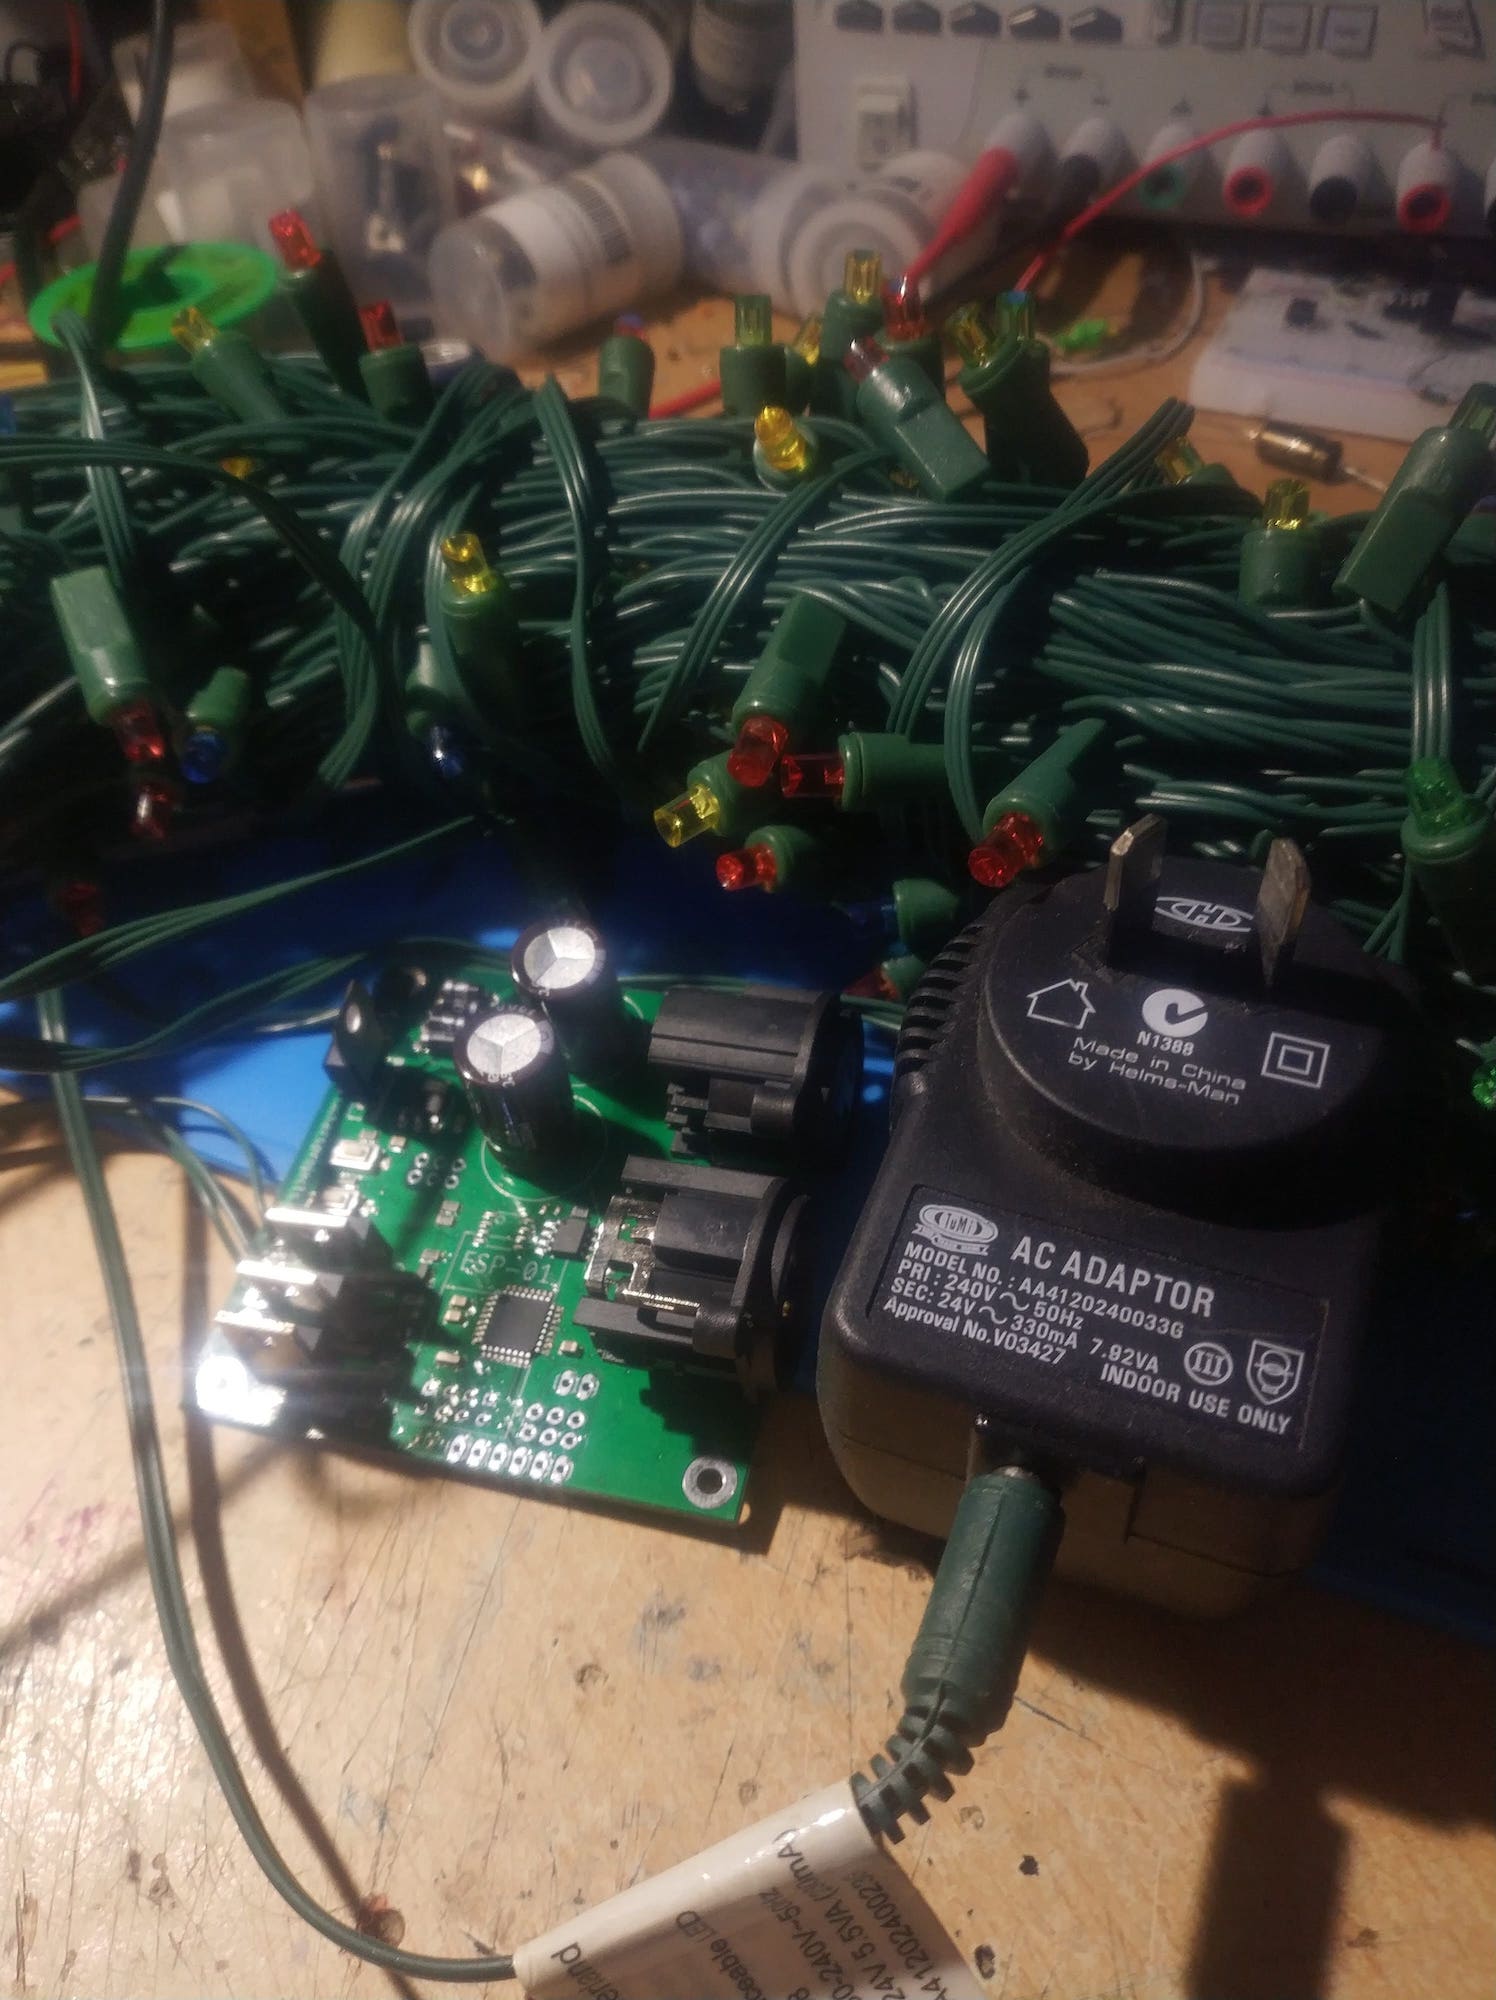


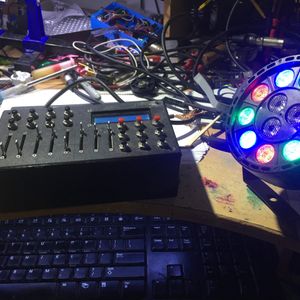
This project was more of a test to see if I can get some Christmas lights working with full PWM control. whiles designing the circuit/PCB, I added some extra components to allow this project to have more functions and controls. This lighting control system could be used for an event coming up in the next year (2020).
Powering
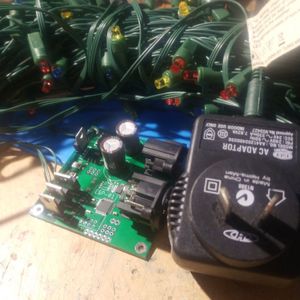
The system is powered by a 24V AC power supply. this power supply powers the controller and the lights. From some experimentation, the LEDs are brighter if the AC power is used but looks jittery. Knowing that the LED will not light up when the voltage is negative (because its a diode) and does not gets powered. A full-bridge rectifier was used to invert the negative power into positive power. This removes most of the jittery from the light from the LED.
No capacitors were added after the full-bridge rectifier because the LEDs will be powered with this full-bridge rectified AC power. To power the microcontrollers, a diode was used to separate the full-bridge rectified AC power from the microcontrollers DC power. The microcontrollers DC power has large capacitors to rectify the AC into DC power.
Lighting
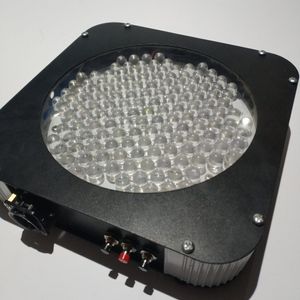
The LEDs on the Christmas lights strings use PWM to fade the light. The RGB_LED Library (found here) was used to control the fading within the Arduino program for the microcontroller. The PWM signal from the microcontroller switches a set of BJTs and power Mosfets to power the LEDs.
Microcontroller
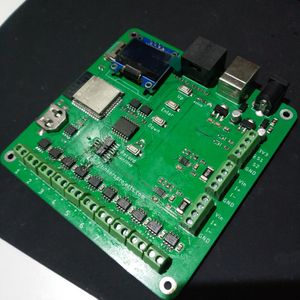
This system can be controlled from 1 of 3 different microcontrollers, ESP8266, ATMEGA328P and ATTINY13. All these controllers are used for different applications and cost different amounts to install onto the PCB (including parts cost). The ATMEGA328P is the default that can be used for almost any application. The ATTINY13 offers a lower cost but cannot do perform like the ATMEGA328P. The ESP8266 can do what the ATMEGA328P can do but with the addition of WiFi.
Other functions
WiFi and DMX can be installed to increase control over the lighting. The WiFi can only be used with the ESP8266 and the DMX can only be used with the ATMEGA328P
Code for Project
GNU General Public License v3.0#include <RGB_LED.h>
RGB_LED LED(9,10,11);
void setup()
{
LED.setFunction(Fade);
}
void loop()
{
LED.run();
}This project was more of a test to see if I can get some Christmas lights working with full PWM control. whiles designing the circuit/PCB, I added some extra components to allow this project to have more functions and controls. This lighting control system could be used for an event coming up in the next year (2020).
Powering
The system is powered by a 24V AC power supply. this power supply powers the controller and the lights. From some experimentation, the LEDs are brighter if the AC power is used but looks jittery. Knowing that the LED will not light up when the voltage is negative (because its a diode) and does not gets powered. A full-bridge rectifier was used to invert the negative power into positive power. This removes most of the jittery from the light from the LED.
No capacitors were added after the full-bridge rectifier because the LEDs will be powered with this full-bridge rectified AC power. To power the microcontrollers, a diode was used to separate the full-bridge rectified AC power from the microcontrollers DC power. The microcontrollers DC power has large capacitors to rectify the AC into DC power.
Lighting
The LEDs on the Christmas lights strings use PWM to fade the light. The RGB_LED Library (found here) was used to control the fading within the Arduino program for the microcontroller. The PWM signal from the microcontroller switches a set of BJTs and power Mosfets to power the LEDs.
Microcontroller
This system can be controlled from 1 of 3 different microcontrollers, ESP8266, ATMEGA328P and ATTINY13. All these controllers are used for different applications and cost different amounts to install onto the PCB (including parts cost). The ATMEGA328P is the default that can be used for almost any application. The ATTINY13 offers a lower cost but cannot do perform like the ATMEGA328P. The ESP8266 can do what the ATMEGA328P can do but with the addition of WiFi.
Other functions
WiFi and DMX can be installed to increase control over the lighting. The WiFi can only be used with the ESP8266 and the DMX can only be used with the ATMEGA328P